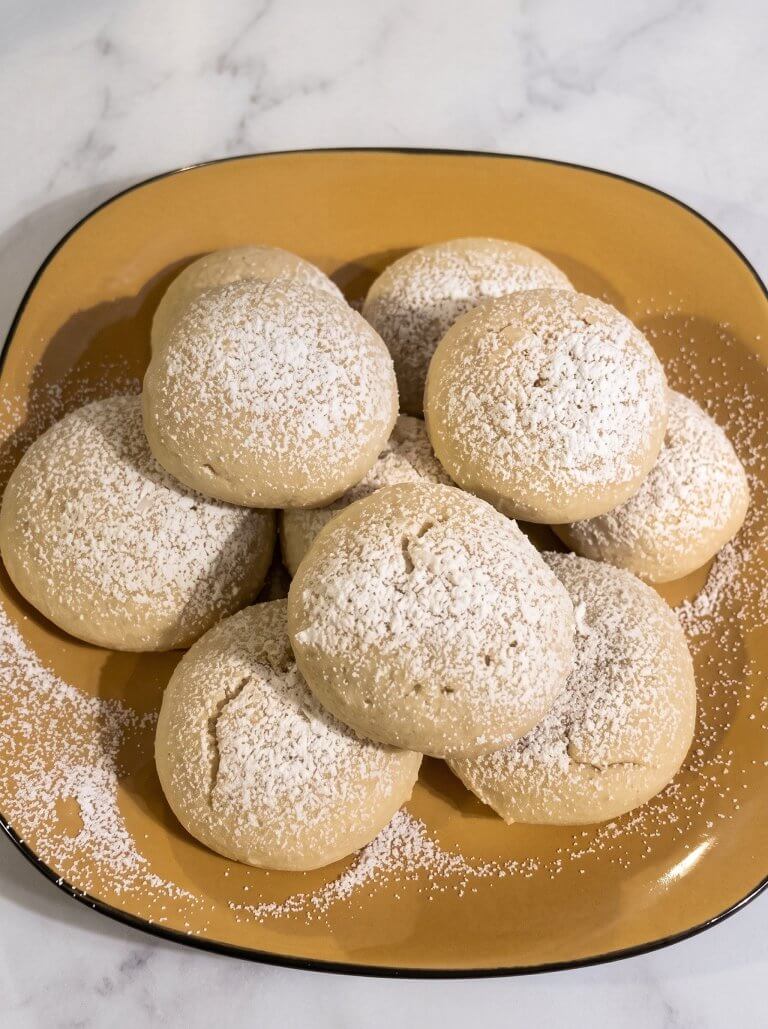
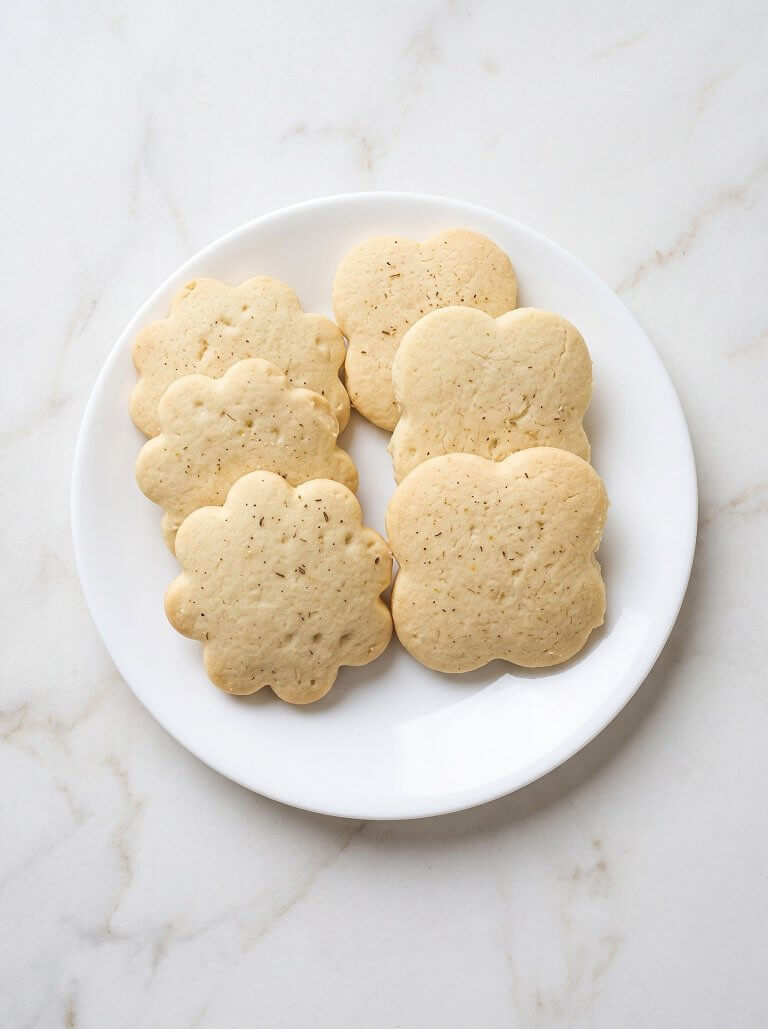
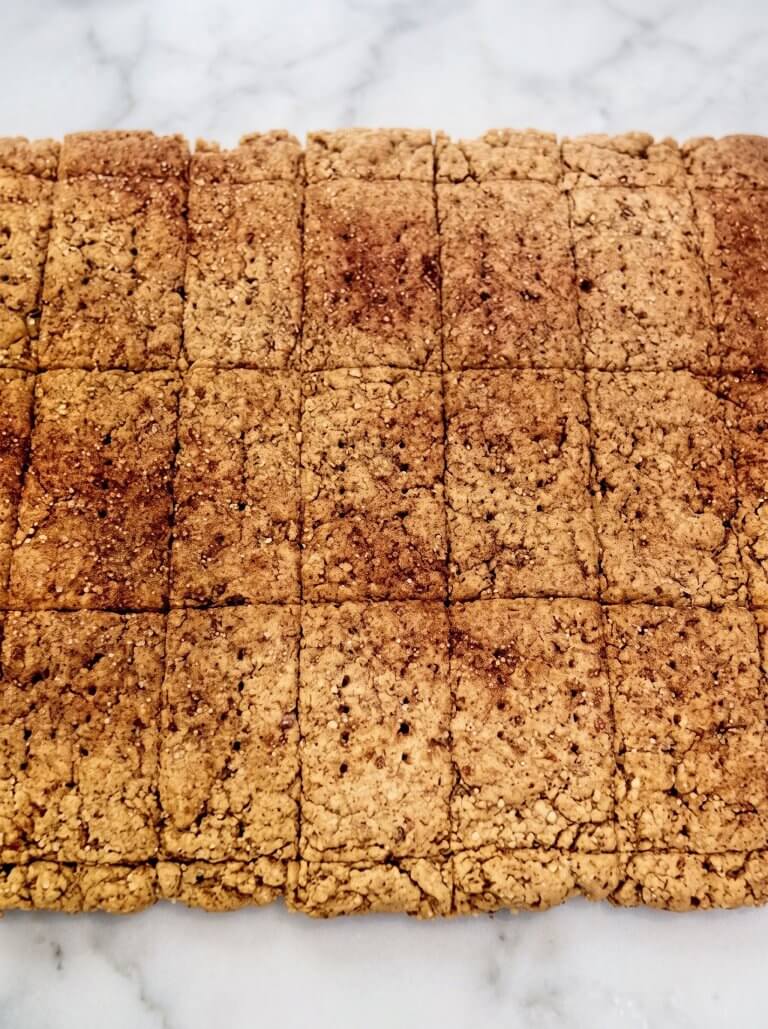
These Best Ever Chocolate Cutout Cookies are the kind of old-fashioned recipe that earns a permanent spot in the family recipe box. They have a deep cocoa flavor, buttery richness, and crisp-tender edges, with enough structure to hold stars, hearts, holiday shapes, and all those cookie cutters the kids insist on using. The dough rolls beautifully once properly chilled, and the finished cookies taste much more chocolate-forward than an ordinary sugar-cookie cutout.
What makes this recipe such a keeper is its simplicity. There are no complicated decorating-cookie ingredients or unusual techniques; just butter, cocoa, sugar, flour, and a handful of pantry staples. I especially like making these with kids because choosing the shapes keeps them involved, while the sturdy baked cookies are easy to decorate once completely cool.
The two-hour chill is important, so this is a wonderful dough to mix earlier in the day and roll out when you’re ready to bake. Keep a little flour nearby because the chocolate dough can become sticky as it warms in your hands.
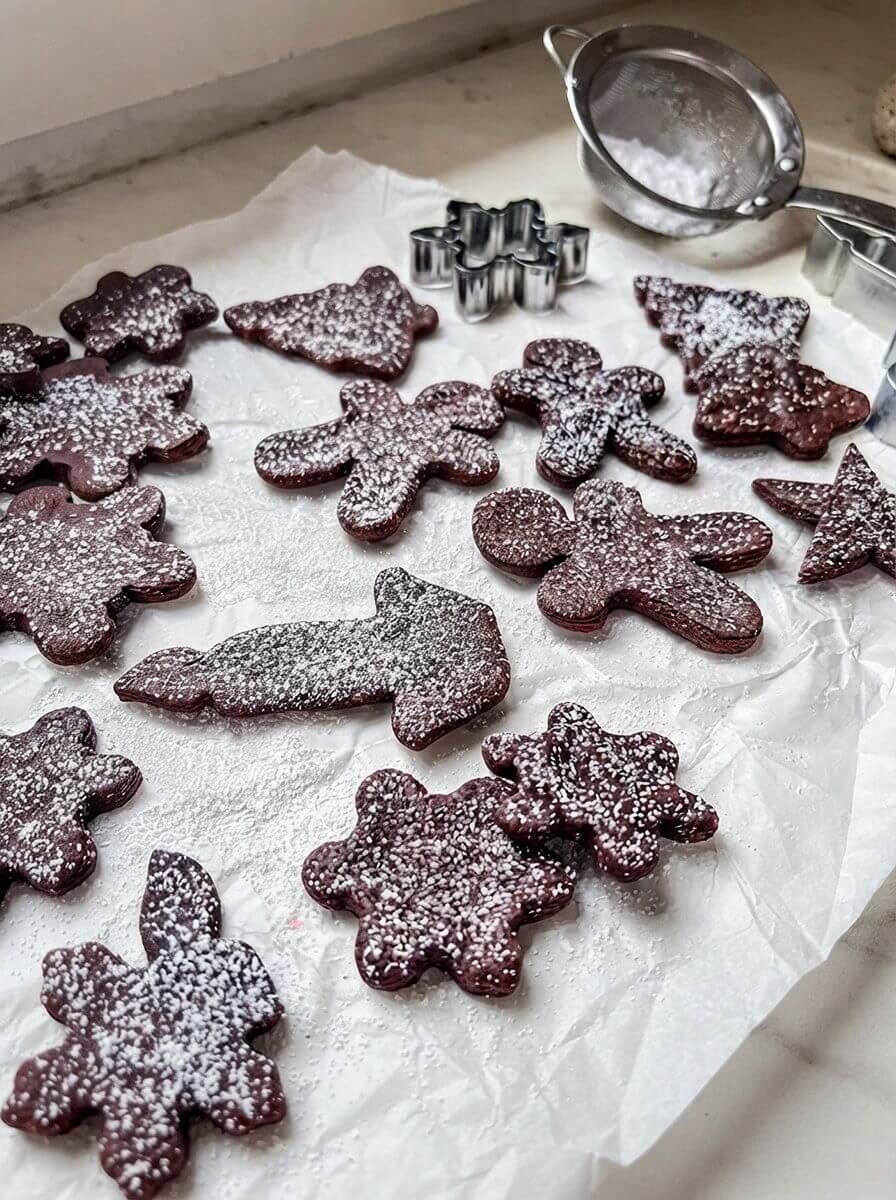
Love this recipe? Pin it to your Chocolate Cookies or Holiday Baking board on Pinterest so you don’t lose it!
Ingredients
1 ½ cups all-purpose flour
¾ cup unsweetened cocoa powder
1 ¼ tsp baking powder
⅛ tsp salt
¾ cup unsalted butter, softened
1 ¼ cups granulated sugar
1 large egg
Instructions
- Mix the dry ingredients. Sift the flour, cocoa powder, baking powder, and salt together into a medium bowl. Set aside.
- Cream the butter and sugar. In a large mixing bowl, beat the softened butter and granulated sugar until smooth, creamy, and well combined.
- Add the egg. Beat in the egg until fully incorporated, scraping down the sides of the bowl as necessary.
- Make the dough. Gradually mix the dry ingredients into the butter mixture. Stop mixing as soon as a soft, evenly chocolate-colored dough forms.
- Chill. Divide the dough into two equal portions and flatten each into a disk. Wrap tightly and refrigerate for 2 hours. Chilling makes the dough much easier to roll and helps the cookies retain their shapes.
- Heat the oven. Preheat the oven to 190°C / 375°F. Line baking sheets with parchment paper or leave them ungreased.
- Roll and cut. Working with one dough disk at a time, lightly flour the work surface and rolling pin. Roll the dough to approximately ⅛-inch thick. Cut into shapes with cookie cutters. Add a little more flour underneath the dough whenever it begins to stick.
- Arrange. Transfer the shapes to the prepared baking sheets, leaving about 1 ½ inches between cookies.
- Bake. Bake for 8-10 minutes, depending on the size and thickness of the cookies. Avoid waiting for chocolate cookies to visibly brown; the edges should simply look set.
- Cool. Leave the cookies on the baking sheet for 5 minutes, then carefully transfer them to a wire rack. Cool completely before decorating or storing.
Cooking Notes
Keep the dough cold: Warm dough becomes sticky and can cause your carefully cut shapes to spread. Return it to the refrigerator for 10-15 minutes if it becomes difficult to handle.
Don’t over-flour: Use just enough flour to prevent sticking. Too much additional flour can make the cookies dry and tough.
Watch the baking time: Chocolate dough makes visual browning difficult to judge. Look for dry, set edges rather than a color change.
For cleaner shapes: After cutting the cookies, chill the filled baking sheet for about 10 minutes before baking, especially when making detailed designs.
Make ahead: The wrapped dough can be refrigerated for up to two days. Allow very firm refrigerated dough to soften briefly before rolling.
Nutrition
Yields: 36 servings
Recommended Serving Size: 1 cookie
Based on the ingredient quantities and the expected yield of approximately three dozen cookies, one cookie is an appropriate dessert serving. Moisture loss during baking reduces the final weight but does not significantly reduce the recipe’s calories.
Estimated Nutrition per Serving
- Calories: 86 kcal
- Fat: 4.0 g
- Carb: 12.0 g
- Protein: 1.0 g
Nutrition is an estimate and will vary slightly with cocoa powder, butter, flour measurement, cookie size, and any decorations or icing added after baking.
Recipe Science
Chocolate cutout cookies combine the structure of a rolled sugar cookie with the flavor and additional solids of cocoa powder. Flour and cocoa provide the framework, while butter supplies richness and tenderness. Sugar contributes sweetness and affects spread and crispness, while the egg supplies moisture and proteins that help bind the dough. Baking powder provides modest leavening without turning a carefully cut cookie into an overly puffy one.
Chilling is particularly important in this dough. Cooling firms the butter and allows the flour and cocoa to hydrate, producing dough that is easier to roll and less likely to spread immediately in the oven. Rolling to approximately ⅛ inch produces relatively thin cookies that bake quickly, so the 8-10 minute baking window helps maintain a crisp-tender texture rather than drying them out.
These cookies are practical for make-ahead and seasonal baking because the dough can be prepared in advance, while fully cooled cookies can be stored in an airtight container. Shapes, cutter sizes, and decorations can all be changed without altering the basic dough.
Dietary Notes & Health Alerts: Based on the provided recipe and a one-cookie serving, saturated fat, sodium, and added sugar do not individually exceed 20% of the FDA Daily Value thresholds of 20 g saturated fat, 2,300 mg sodium, and 50 g added sugar. Portions and decorations still matter; frosting, chocolate coatings, and sprinkles can substantially increase sugar and calories.
Why You’ll Love This Recipe
- Deep Chocolate Flavor: A generous amount of unsweetened cocoa makes these much more chocolate-forward than ordinary cutout cookies.
- Holds Its Shape: Proper chilling gives the dough enough structure for cookie cutters and detailed holiday shapes.
- Simple Pantry Ingredients: The dough uses familiar baking staples without specialty ingredients.
- Kid-Friendly Baking Project: Rolling, cutting, and decorating give little helpers plenty to do.
- Perfect for Holidays: Change the cutters and decorations, and the same chocolate dough works for Christmas, Valentine’s Day, Halloween, birthdays, and more.
FAQ
- Can I make the dough ahead of time? Yes. Wrap the dough disks tightly and refrigerate them for up to two days. Let the dough sit briefly at room temperature if it becomes too firm to roll.
- Why is my dough sticking to the rolling pin? It is probably getting too warm. Lightly flour the surface and rolling pin, and chill the dough again if necessary rather than continually adding more flour.
- How do I know when chocolate cookies are done? Don’t rely on browning. The cookies are ready when the surfaces appear dry and the edges are set. They will continue to firm as they cool.
- Can I decorate these cookies? Absolutely. Cool them completely first. Royal icing, a simple powdered-sugar glaze, or melted chocolate all pair well with the cocoa-rich cookies.
- Can I make thicker cookies? Yes, but thicker dough will generally require a little additional baking time. Check frequently so the cookies stay tender.
Conclusion
There is something especially comforting about a family chocolate cookie recipe that can come out year after year, and these cutouts have exactly that timeless quality. Have fun with the shapes and decorations, and remember that home baking doesn’t have to look perfect to become a favorite family memory.
What cookie-cutter shape would you make first?
Happy baking, friends!

Best Ever Chocolate Cutout Cookies
Course: Chocolate CookiesCuisine: AmericanDifficulty: Easy36
cookies25
minutes10
minutes86
kcalRich, buttery chocolate cutout cookies with deep cocoa flavor and crisp-tender edges, perfect for cookie cutters and decorating.
Ingredients
1 ½ cups all-purpose flour
¾ cup unsweetened cocoa powder
1 ¼ tsp baking powder
⅛ tsp salt
¾ cup unsalted butter, softened
1 ¼ cups granulated sugar
1 large egg
Directions
- Mix the dry ingredients. Sift the flour, cocoa powder, baking powder, and salt together into a medium bowl. Set aside.
- Cream the butter and sugar. In a large mixing bowl, beat the softened butter and granulated sugar until smooth, creamy, and well combined.
- Add the egg. Beat in the egg until fully incorporated, scraping down the sides of the bowl as necessary.
- Make the dough. Gradually mix the dry ingredients into the butter mixture. Stop mixing as soon as a soft, evenly chocolate-colored dough forms.
- Chill. Divide the dough into two equal portions and flatten each into a disk. Wrap tightly and refrigerate for 2 hours. Chilling makes the dough much easier to roll and helps the cookies retain their shapes.
- Heat the oven. Preheat the oven to 190°C / 375°F. Line baking sheets with parchment paper or leave them ungreased.
- Roll and cut. Working with one dough disk at a time, lightly flour the work surface and rolling pin. Roll the dough to approximately ⅛-inch thick. Cut into shapes with cookie cutters. Add a little more flour underneath the dough whenever it begins to stick.
- Arrange. Transfer the shapes to the prepared baking sheets, leaving about 1 ½ inches between cookies.
- Bake. Bake for 8-10 minutes, depending on the size and thickness of the cookies. Avoid waiting for chocolate cookies to visibly brown; the edges should simply look set.
- Cool. Leave the cookies on the baking sheet for 5 minutes, then carefully transfer them to a wire rack. Cool completely before decorating or storing.